Basic Setup
Connect the V6 Pro & V6 Max with the power adaptor;
Connect the V6 Pro & V6 Max to your TV/Monitor with the HDMI cable provided, or your AV Cable if you need to connect with the AV port;
Put two AA batteries into the Bluetooth remote.
Now finish the setup together with the initial-setup wizard program
1. Wait for the boot animation to complete

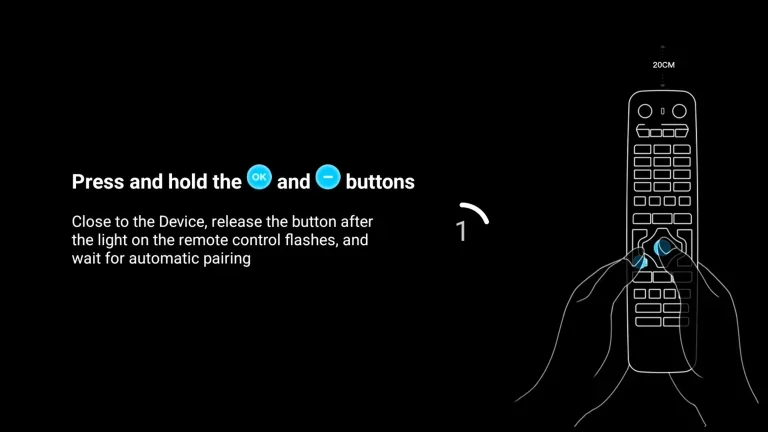
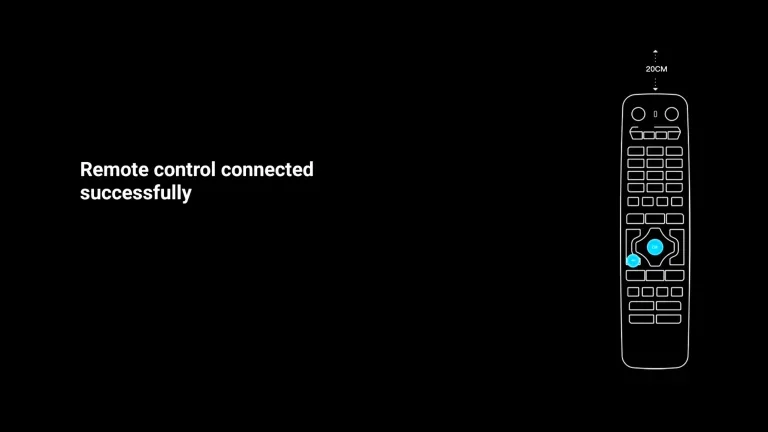
2.Pairing a Bluetooth remote control: Press and hold the [OK] and [-] buttons at the same time. After pairing is successful, “Remote control connected successfully” will be displayed and the next step will be automatically entered;
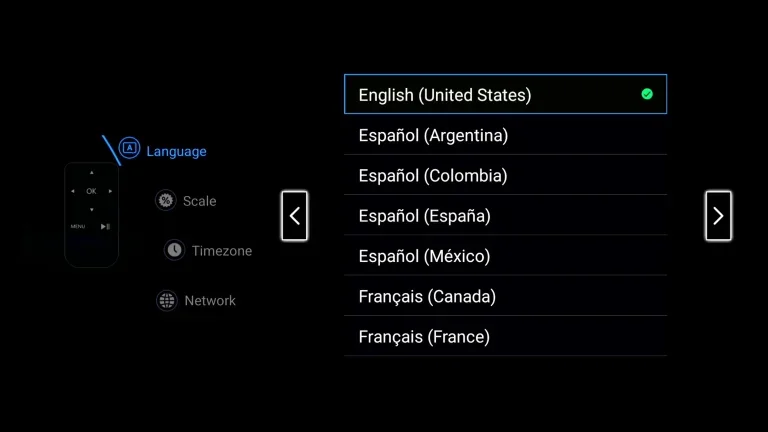
3. Select your Language, then press [>] to next;
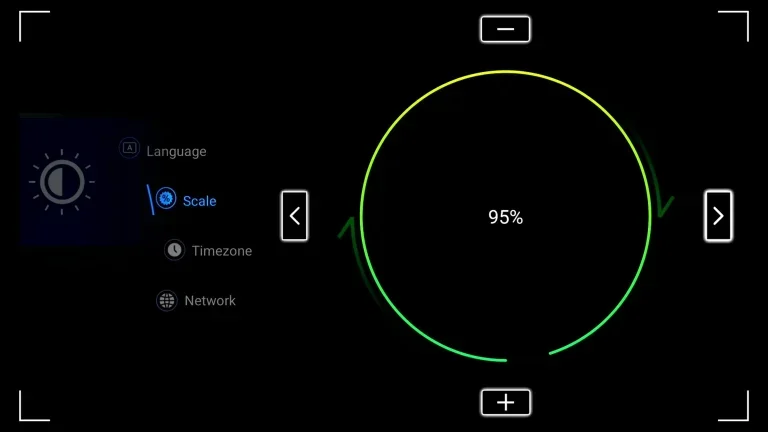
4. Adjust the screen size according to your display effect until the screen edge matches the TV, then select NEXT and press [>] to proceed to the next step
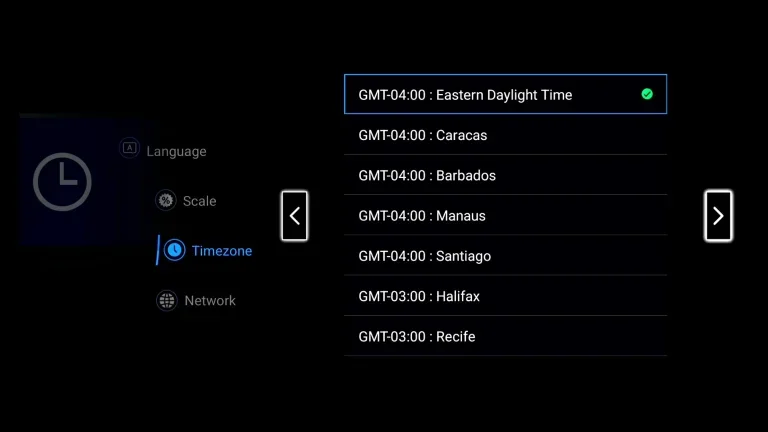
5. Select time zone, then press [>] to next;
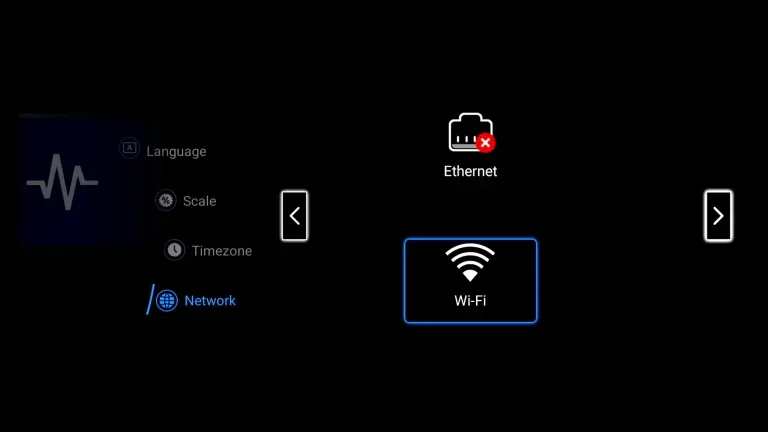
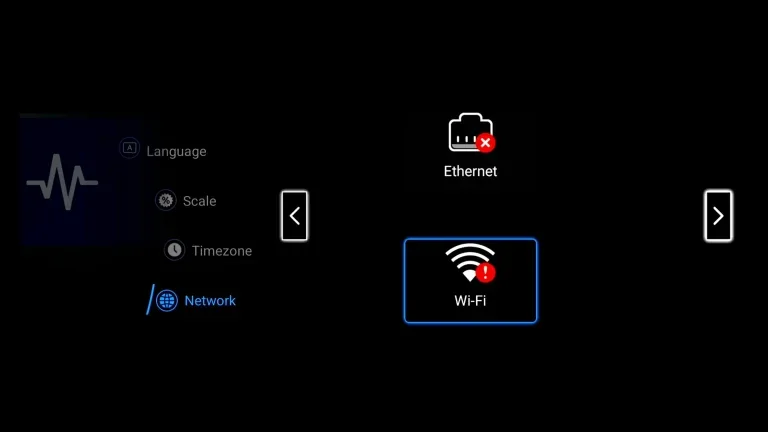
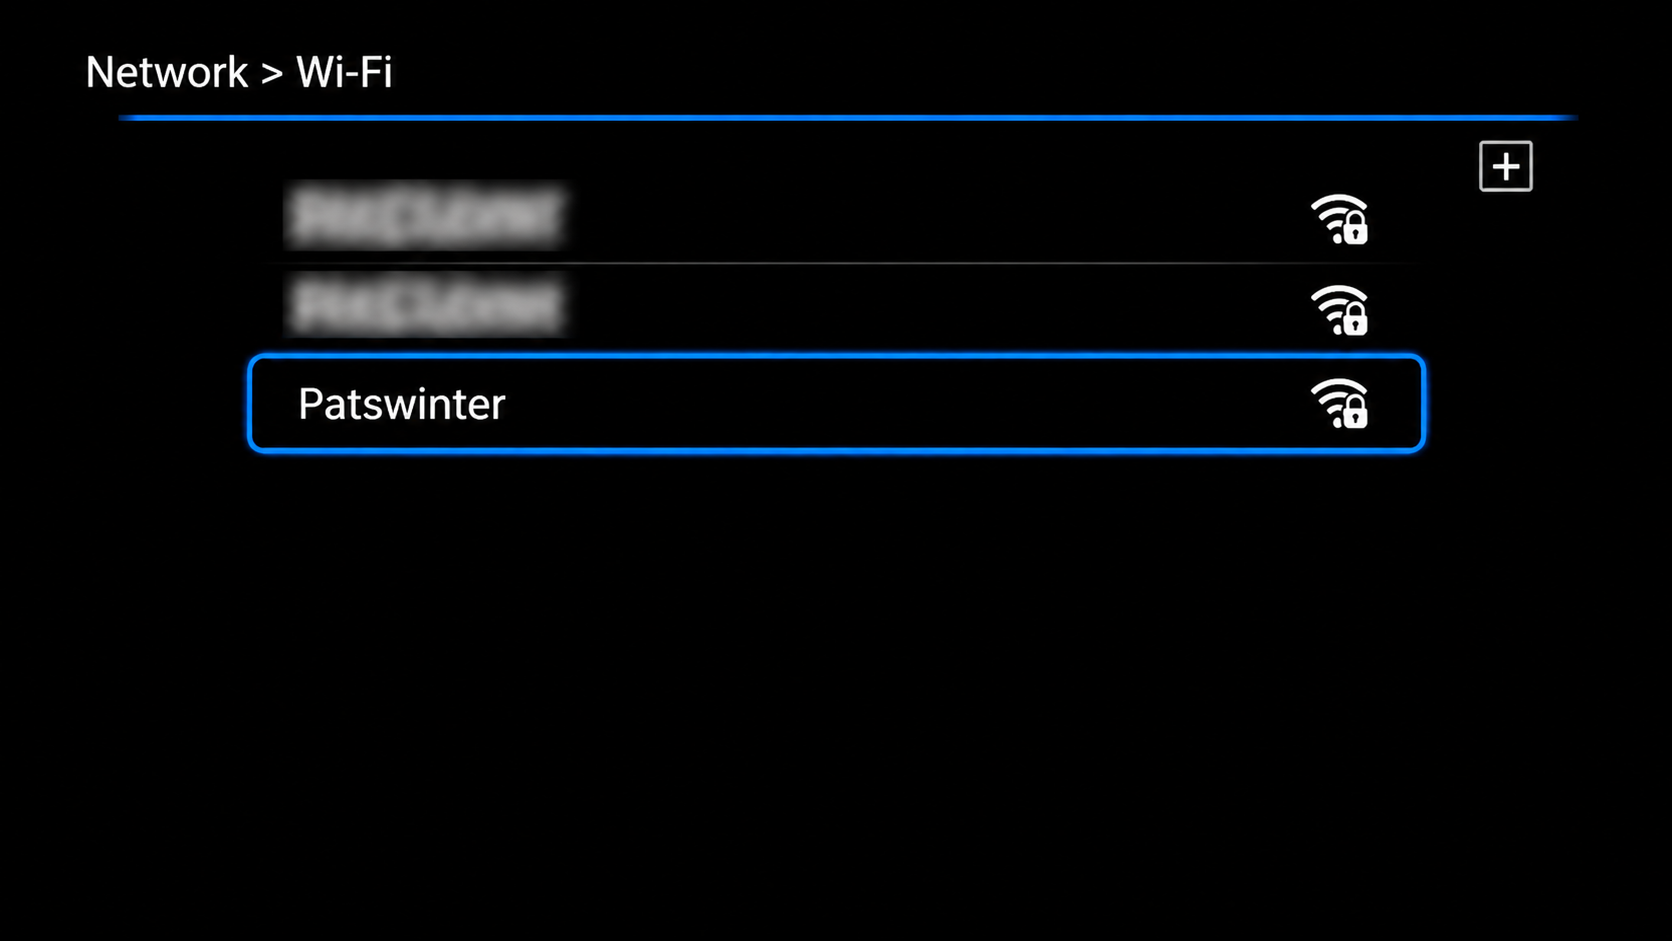
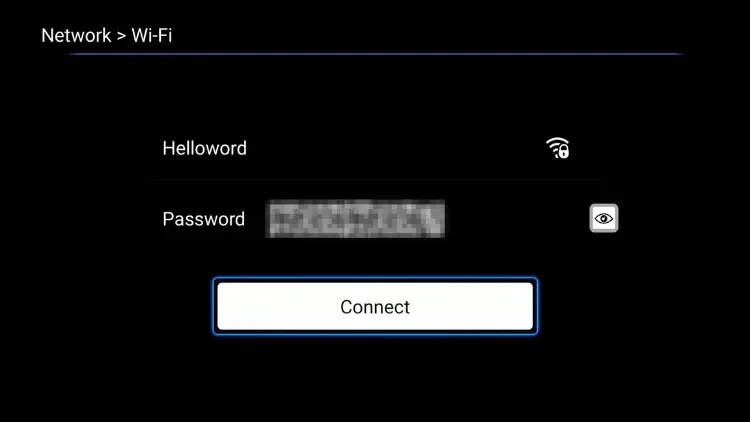
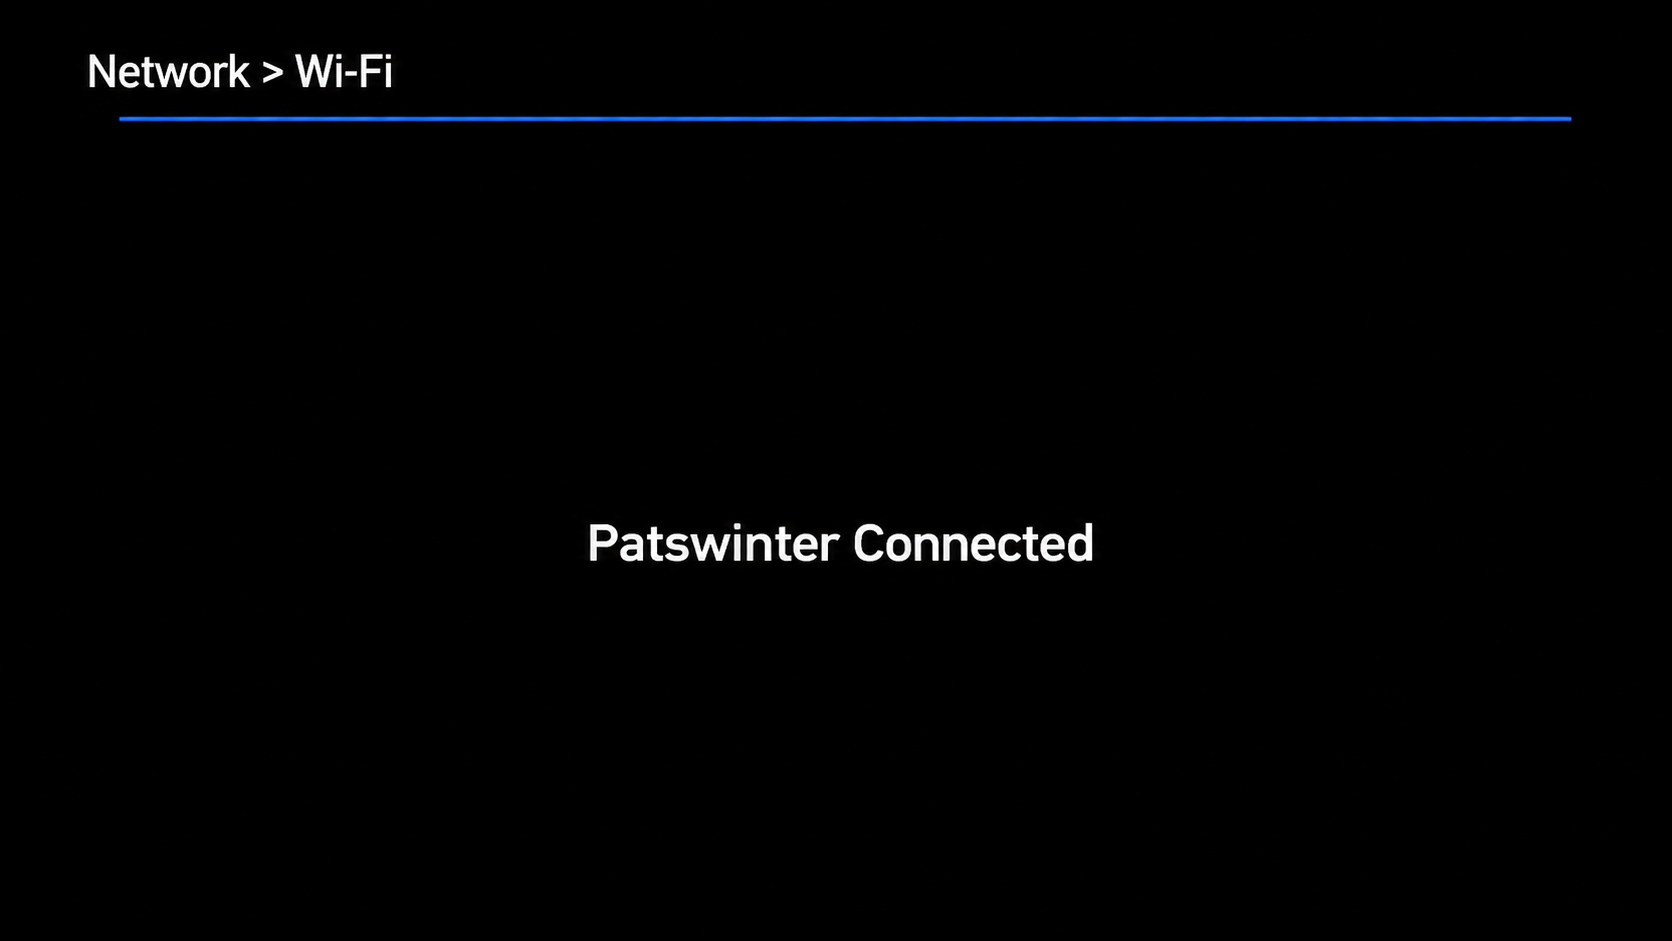
6.Select your WIFI / Ethernet and press [OK] to enter the password
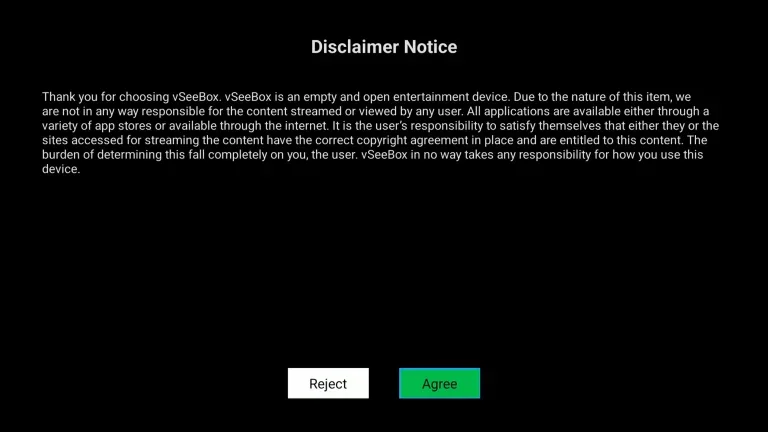
7. Read our agreement, press [▼] to select the Agree button, and press [OK] to proceed to the next step
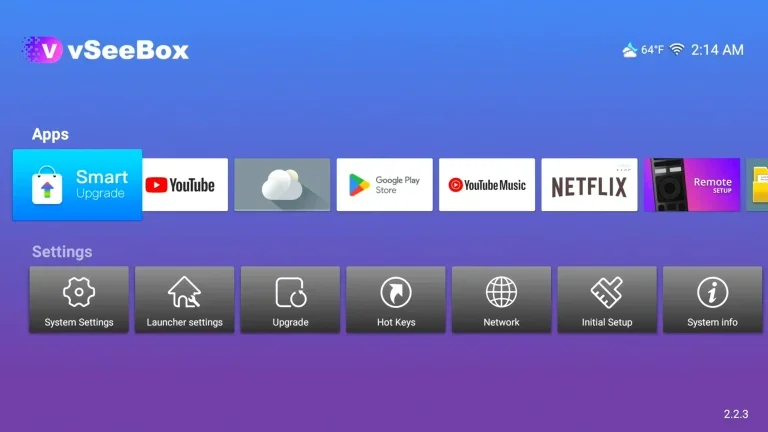
8. Select the network you just set up, All subsequent operations will be completed automatically without any intervention on your part. After everything is completed, you will automatically enter the desktop!